
| Interior |
| Floor plan and 3D scheme |
| Video |
| Construction Process |
| Project | Gaia |
| Designer and builder | Joshua Woodsman |
| Area | 150 sq ft (14 sq m) |
| Containers | One 20 ft HC |
| Bedrooms | 1 |
| Bathrooms | 1 |
| Project cost | $21,000 |
| Year | 2020 |
| Photographer | Jakub Zdechovan |
Description by designer
Our planet is increasingly facing many new and difficult challenges. Therefore, it‘s necessary to look for alternative forms of housing that will have a less negative impact on the environment, as well as complement traditional approaches to housing. That is why we at Pin-Up Houses have decided to repurpose a discarded shipping container and fit it out with the most available building materials and latest technology to design a unique independent housing unit.
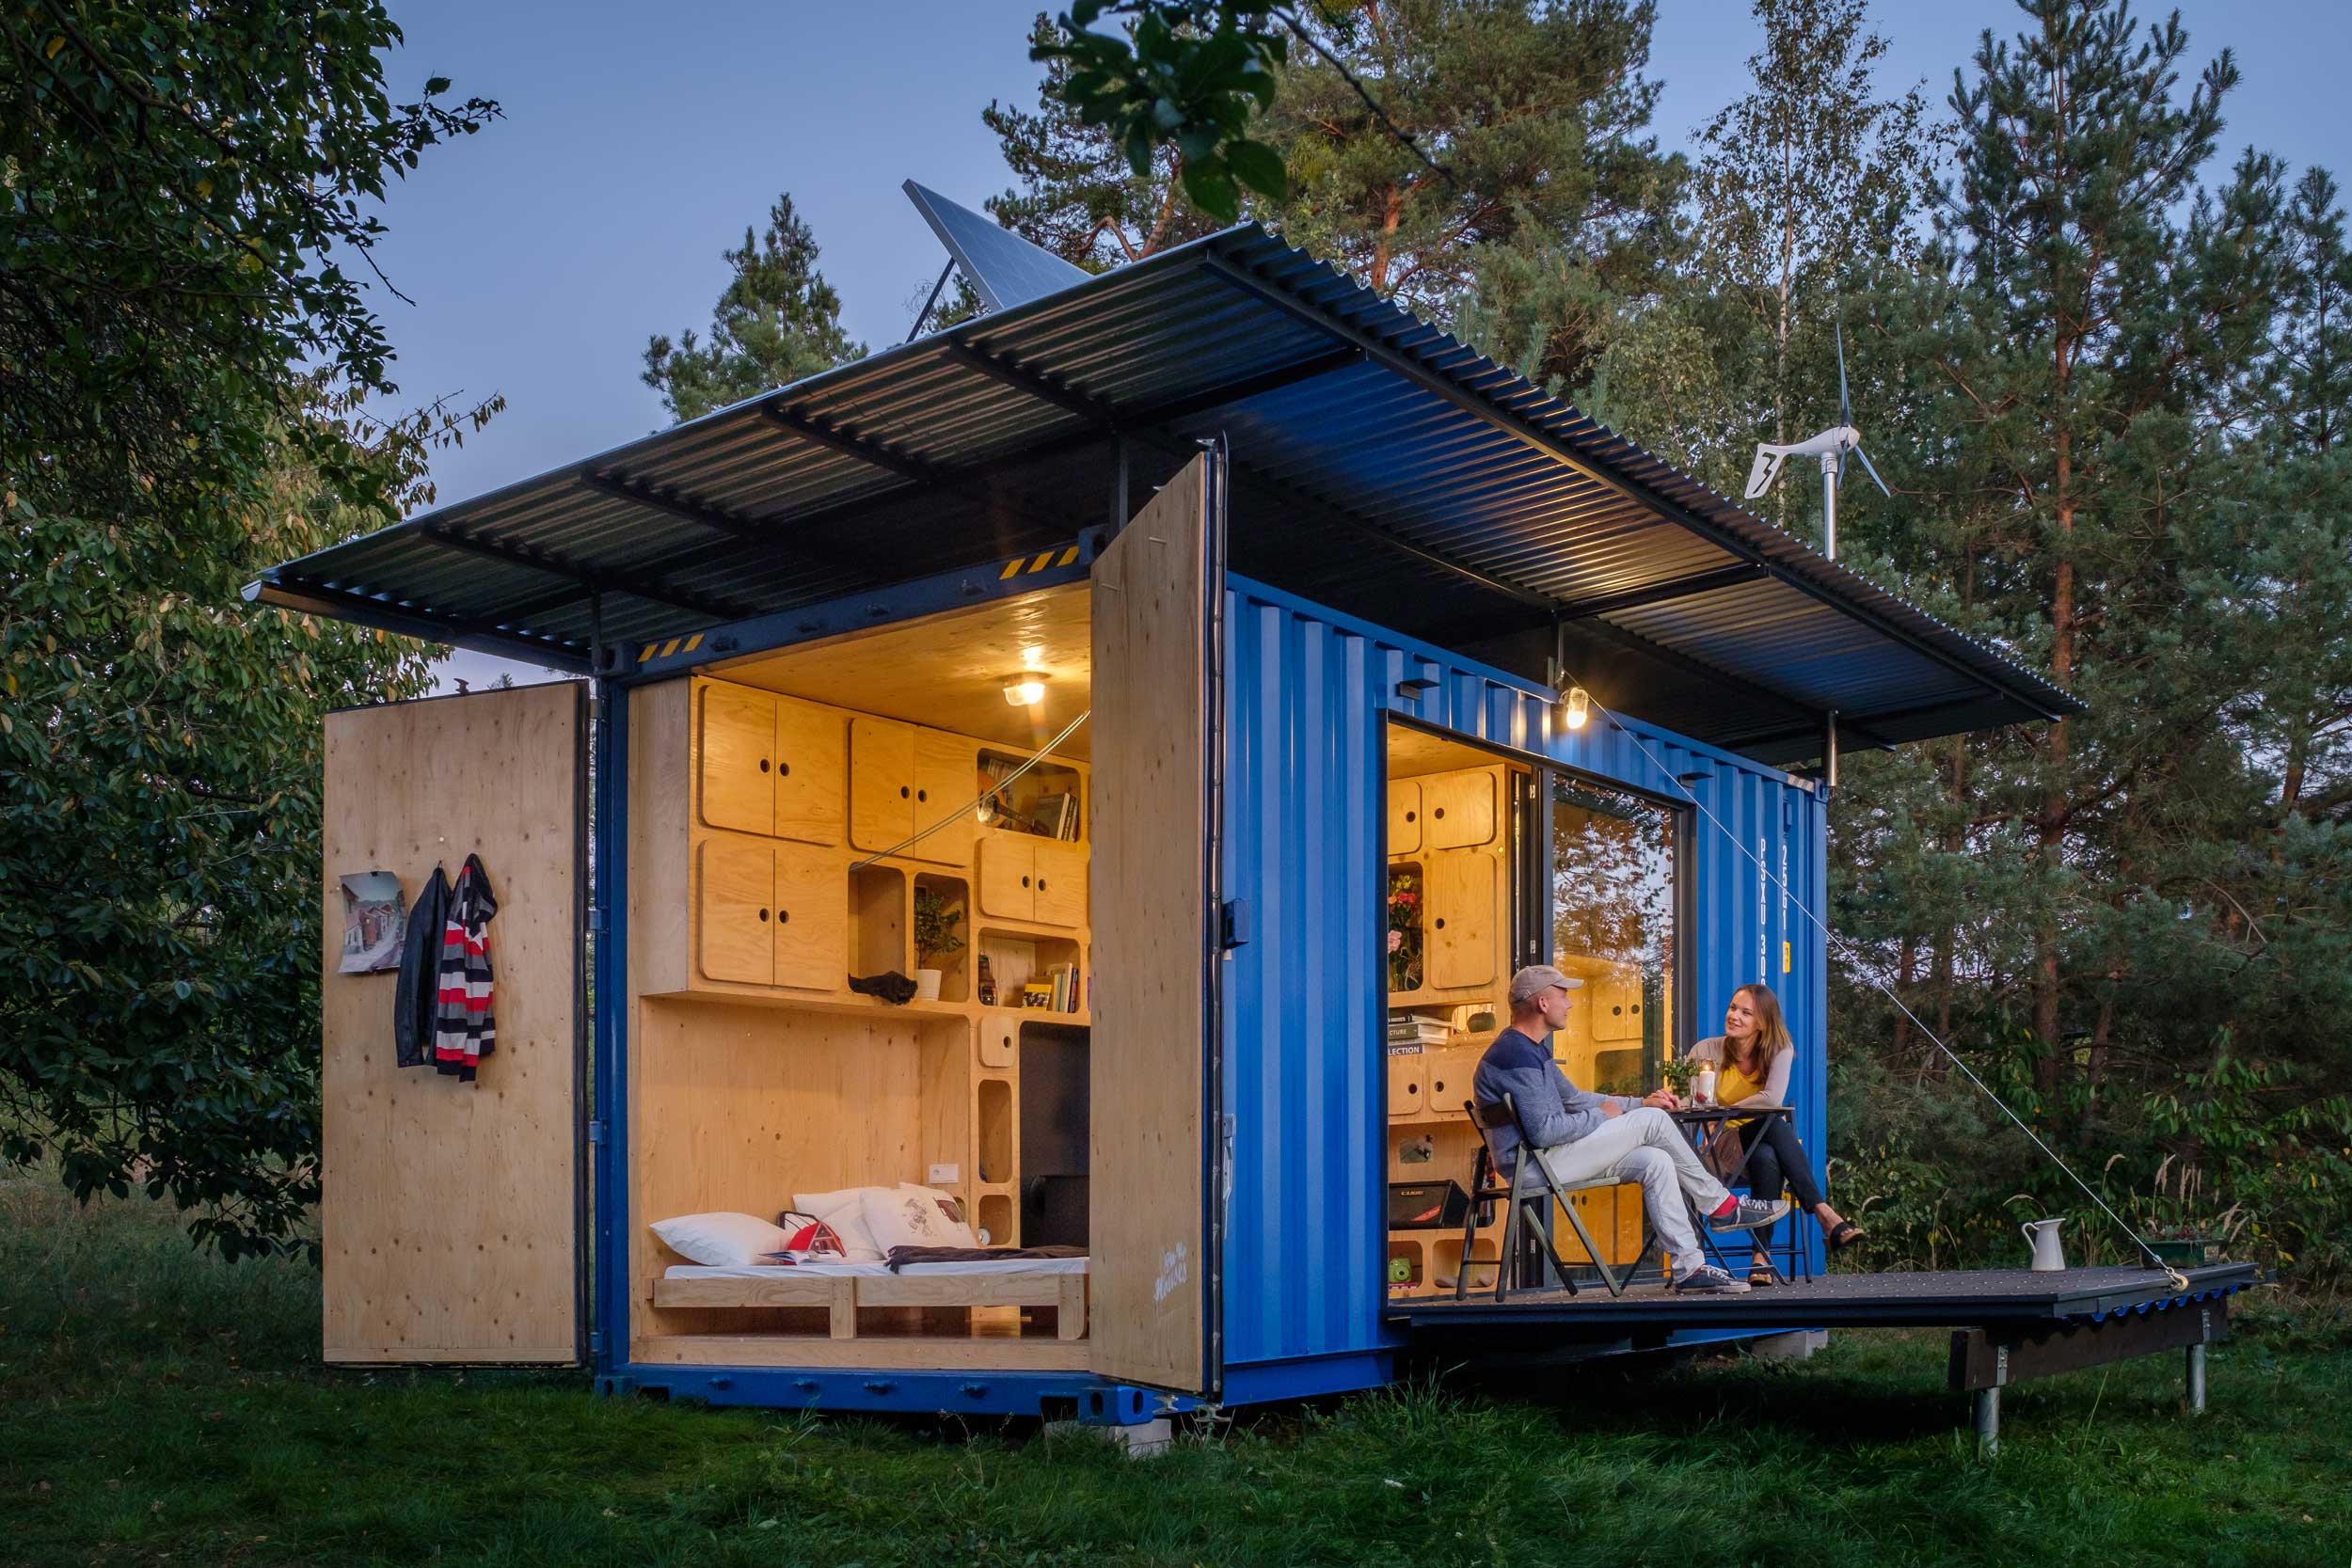
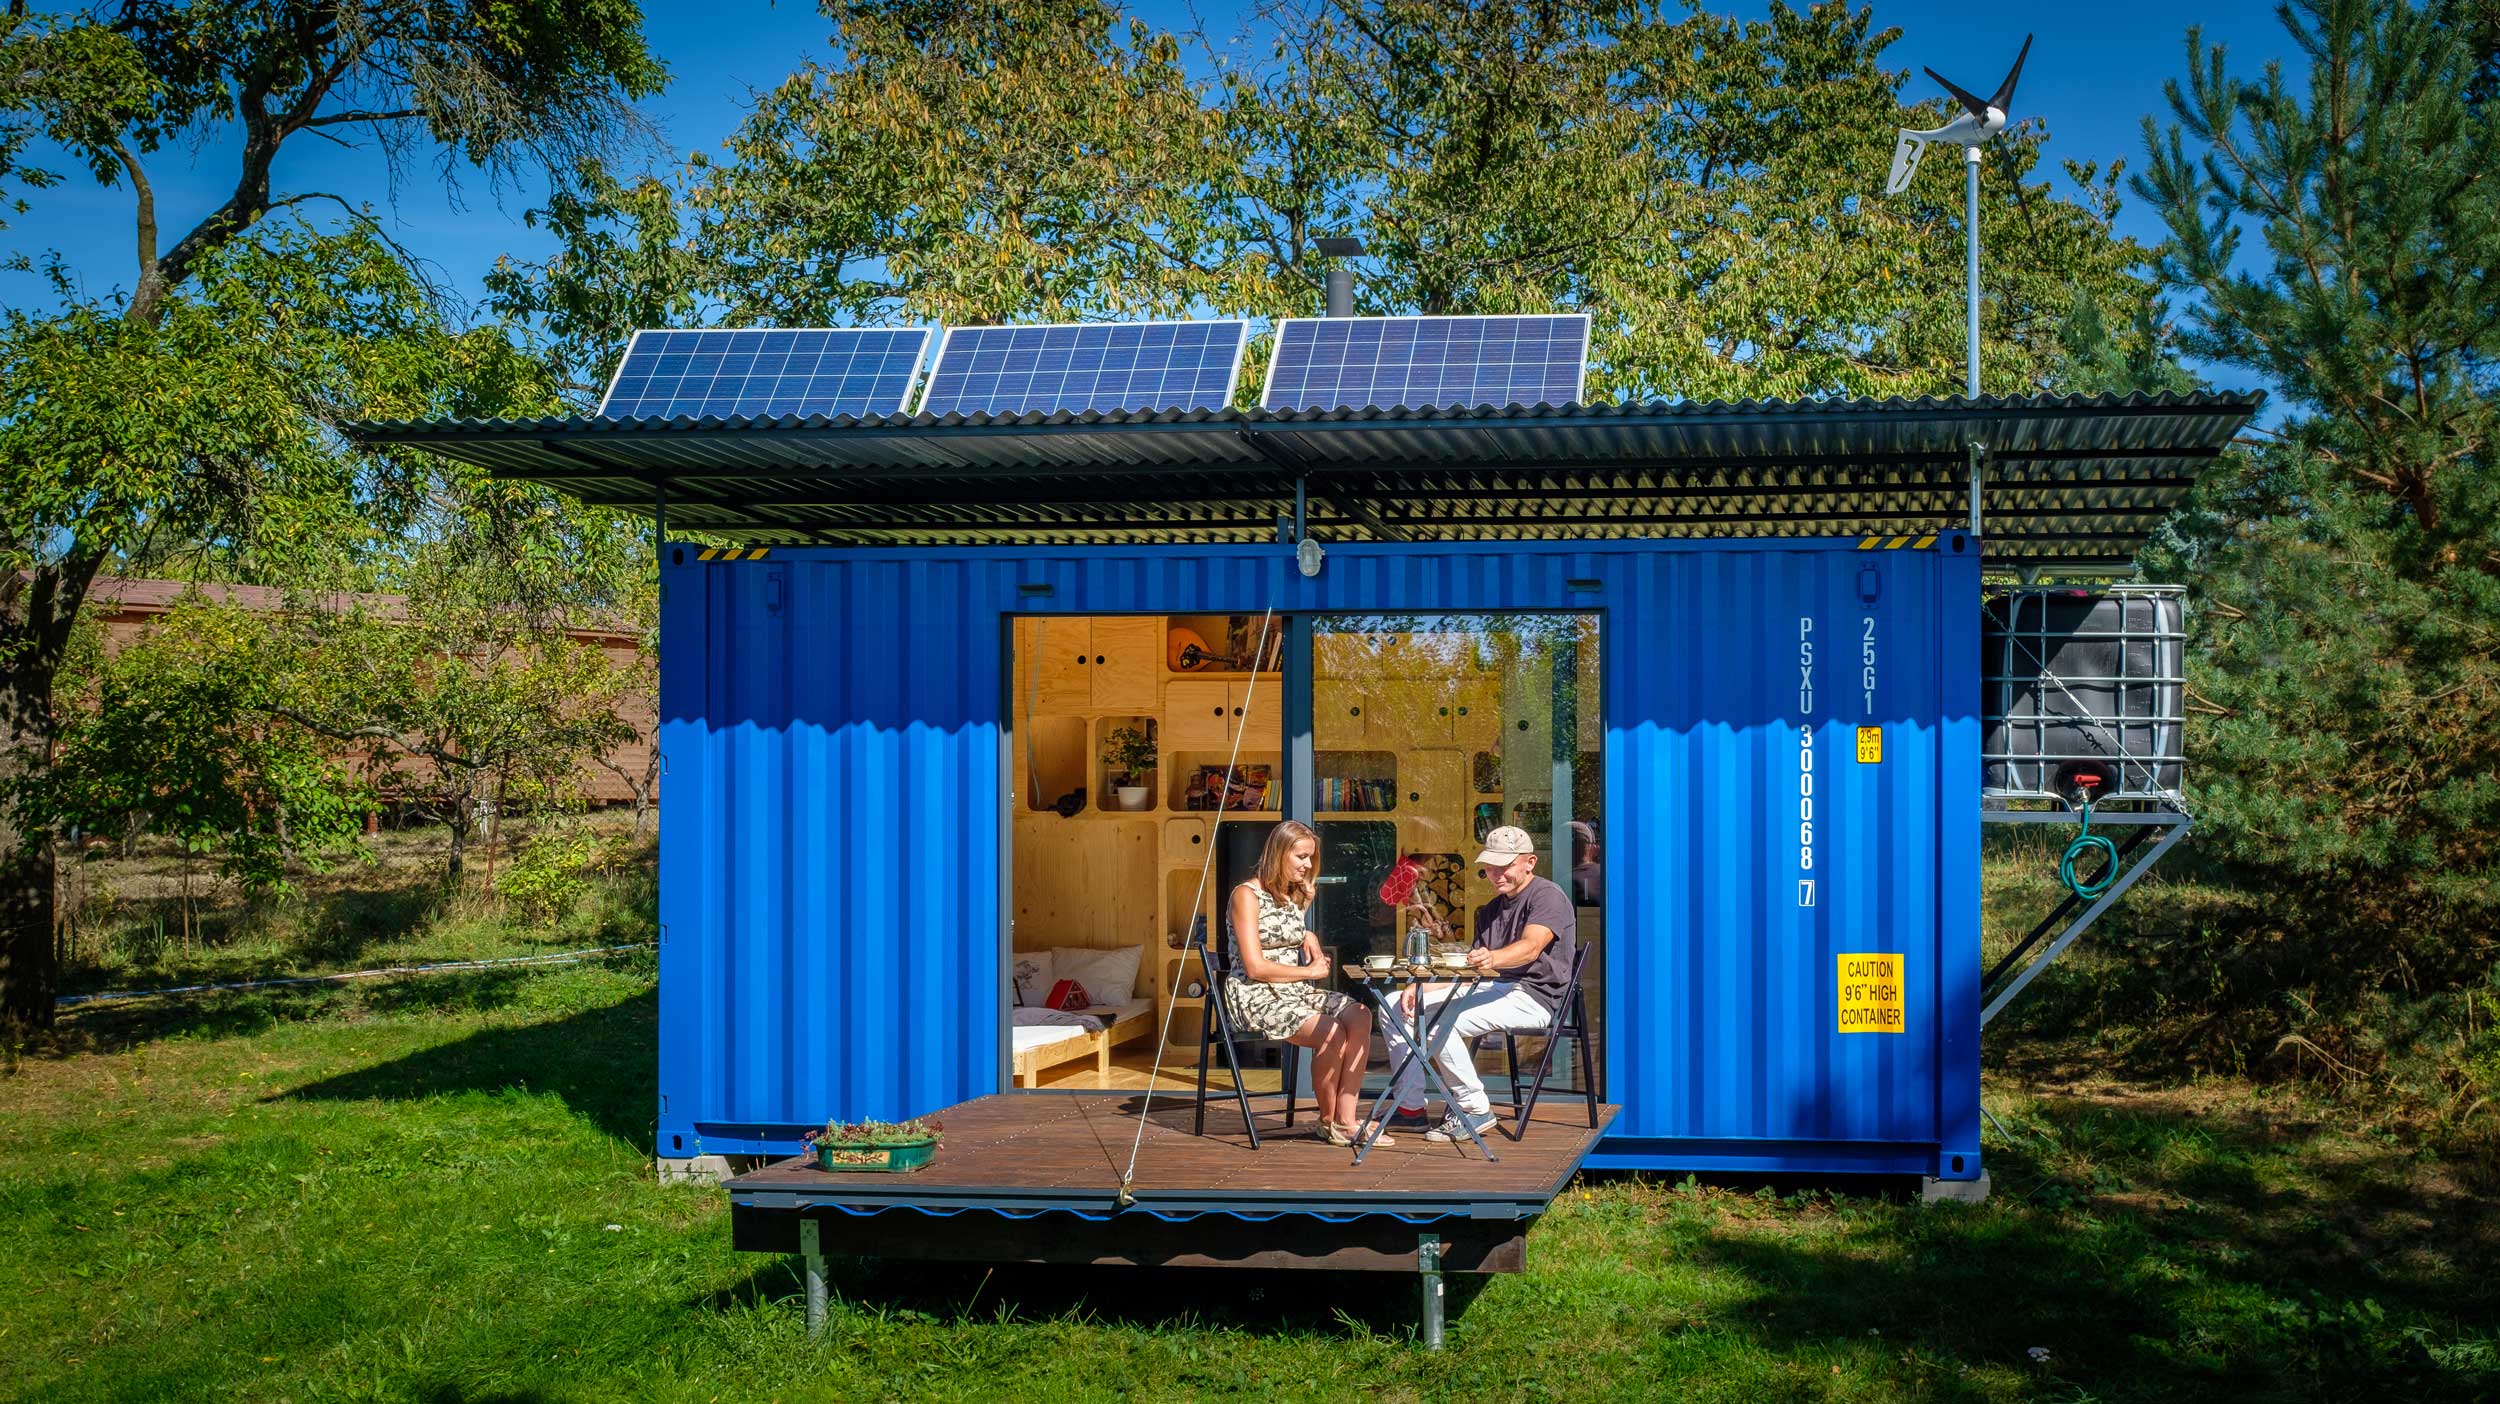
The small off-grid shipping container home, Gaia, is an experimental self-sufficient housing project, a so-called Off-the-Grid House. With Gaia, there is no need to rely on external sources of energy or water since this house harnesses solar energy and wind energy. The house is equipped with solar panels, as well as a wind turbine, ensuring your batteries can be charged at all times of the day and all seasons. The battery level, consumption, charging, and other factors can all be monitored remotely by using a mobile app. The house is also equipped to retain rainwater, which is filtered and distributed to the bathroom and kitchen. It is equipped with a refrigerator, water heater, and other 12 V and 24 V appliances according to your needs. Additionally, a higher voltage of 110 V to 230 V can be generated using an inverter. Smart storage space, a convertible sofa-bed, compact stools, and tables are always a feature of Pin-Up Houses. For added privacy and security, the outdoor terrace can easily be folded to close the container using the winch.
This small off-grid shipping container home is made up of a marine HC 20‘ / 6 m container, wooden studs, and spruce plywood creating the entire interior. The inner walls are sprayed with thermal insulation, ensuring a cozy home. To protect this experimental house from the elements, the container roof is covered with a galvanized corrugated metal sheet, which cleverly extends out beyond the structure to increase the rainwater catchment area that is ultimately collected in a 1,000-IBC tank.
Sustainable living has never been so easy, nor has it been as necessary as it is now with environmental problems such as global warming and a drastic increase in waste materials. The Pin-Up House Gaia is here to allow you to live in harmony with nature using green energy with style and comfort.
You can buy DIY floor plans and drawings of this container home from its designer and builder here.


Interior


Floor plan and 3D scheme

You can buy DIY floor plans and drawings of this container home from its designer and builder here.

Video
Construction Process
Laying out a foundation with concrete bricks and gravel & stone backfill
First, I outlined the location of the raised foundations using a spirit level and a string. The corners must be at right angles. Subsequently, I dug holes in the places of the future foundations and filled them with stones and sand. I stacked the concrete bricks dry on the base prepared in this way.


Placing container on the prepared foundation
I had the new HC sea container placed by car with a crane hand on the foundations prepared in this way. The placement went smoothly according to a pre-prepared plan.


Assembly of the steel roof structure
The roof made of steel profiles is connected with screws to the nut to be easily dismantled. It is painted with a base color and a top dark gray color. Galvanized corrugated sheet is used as the roof covering. Thanks to sufficient overlap, the roof area is large and thus captures enough useful rainwater.


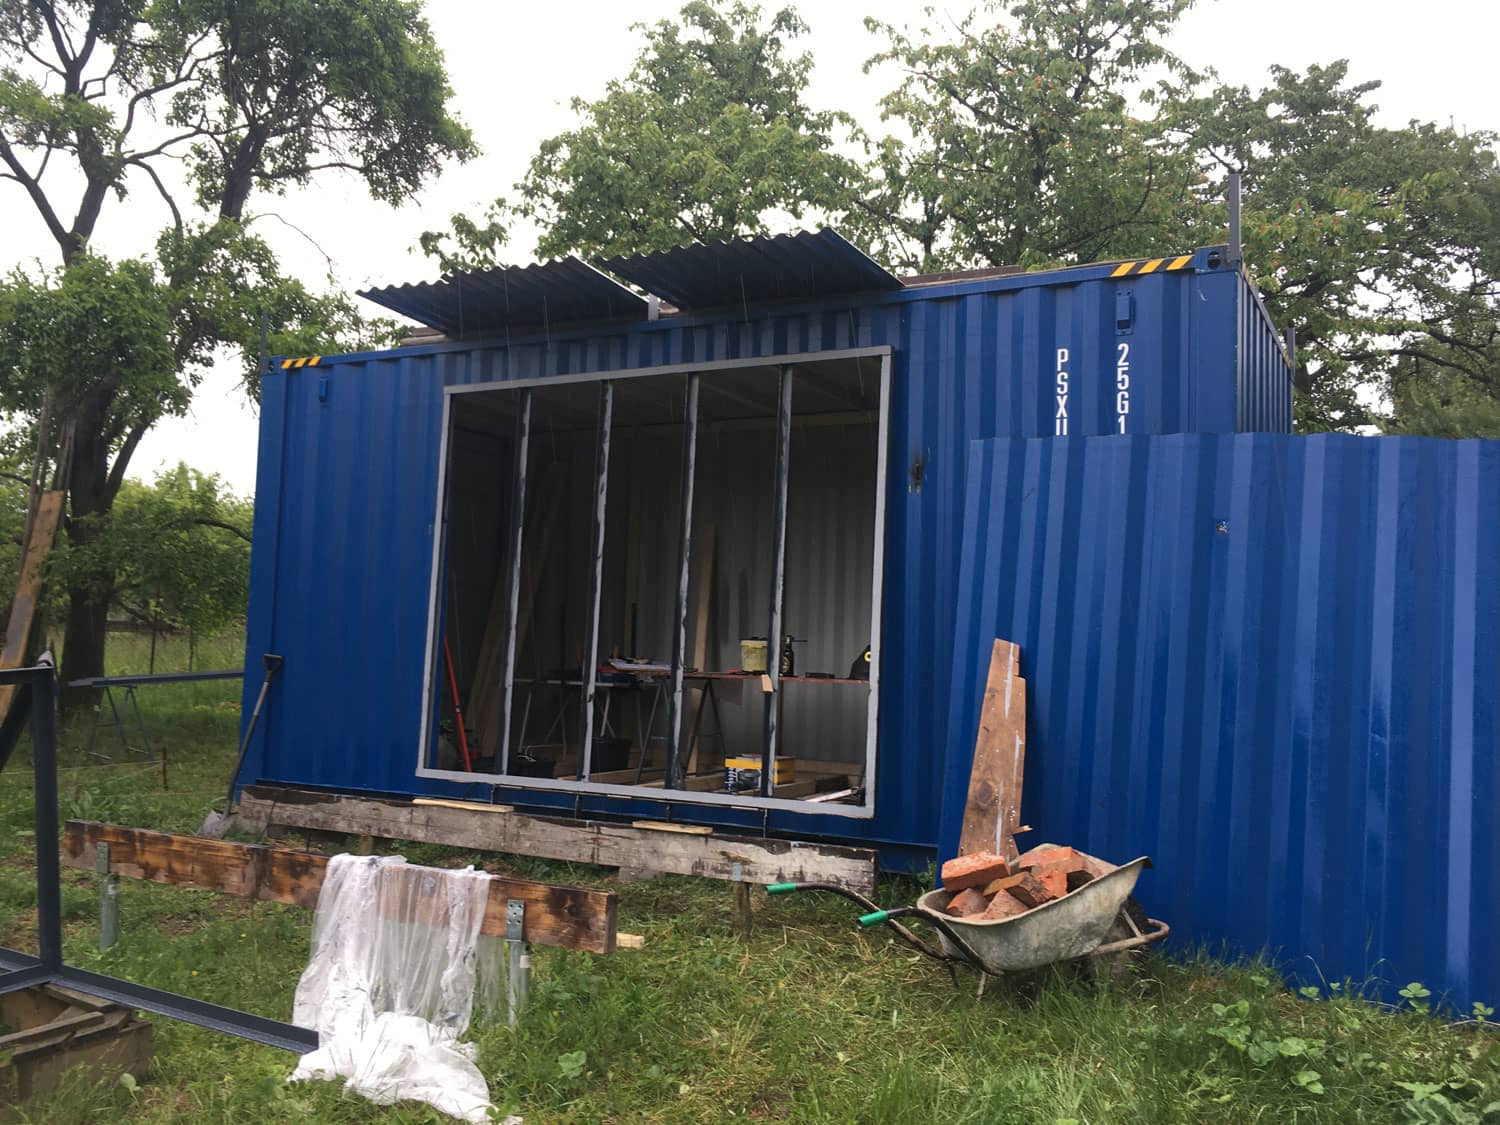
Cutting an opening in shipping container for a window and the construction of a folding terrace
Before cutting an opening for windows, it is necessary to connect the upper and lower container truss with a frame structure, which will ensure the wall’s stability after cutting a large area of sheet metal. I installed a wooden frame around the opening, into which a sliding aluminum window will be anchored.


Floor, wall, and ceiling framing, electrical wiring
The wooden grate is used to attach plywood paneling. At the same time, installations are carried out in it. Thermal insulation is sprayed into the individual fields. The carpenter’s angles and nails connect the grate. I used lumber of various sizes for the construction.


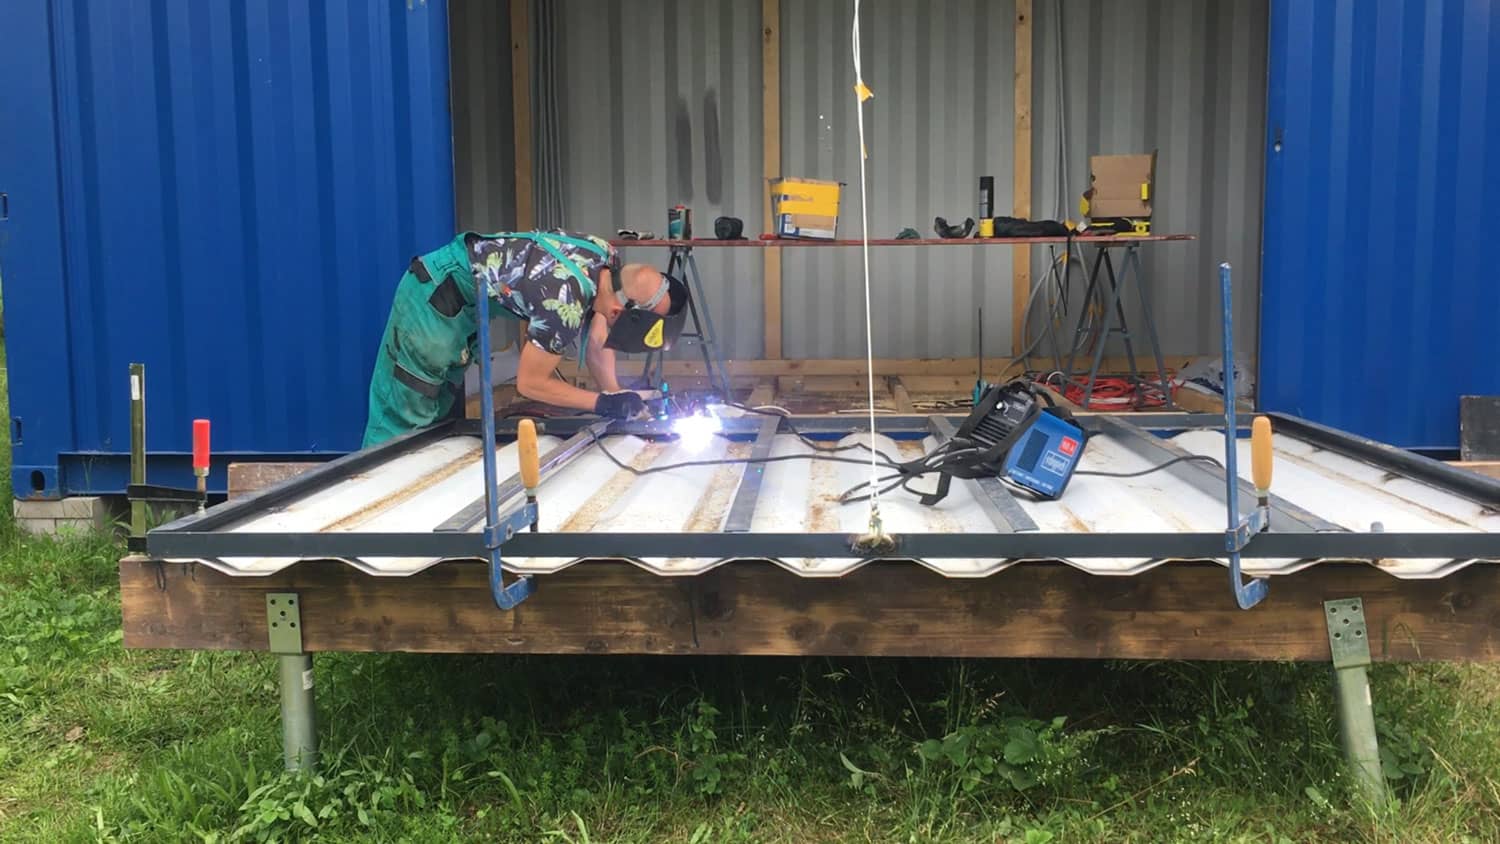
Construction of a shipping container folding terrace. Welding of corrugated iron to the tilting terrace. Testing of the tilting terrace. Installation of shipping container terrace decking
Building a folding terrace was a challenge for me. When using it, it is necessary to pay attention to increased safety. When the terrace is tilted, it must be secured with cotter pins. The hand winch must be strong to lift the entire terrace structure. Larch wood was used for the walkable floorboards. I welded the entire frame structure of the terrace from various steel profiles.


Shipping container spray foam insulation
Before spraying the insulation, it is necessary to seal the areas that are not to be sprayed. These are the fronts of the beams, the window, and other structures. If there are installations in the walls, it is necessary to fasten them properly and describe the functions of the individual cables. Sprayed insulation has twice the thermal insulation properties of conventional polystyrene. A specialized company insulated the container in about two hours.


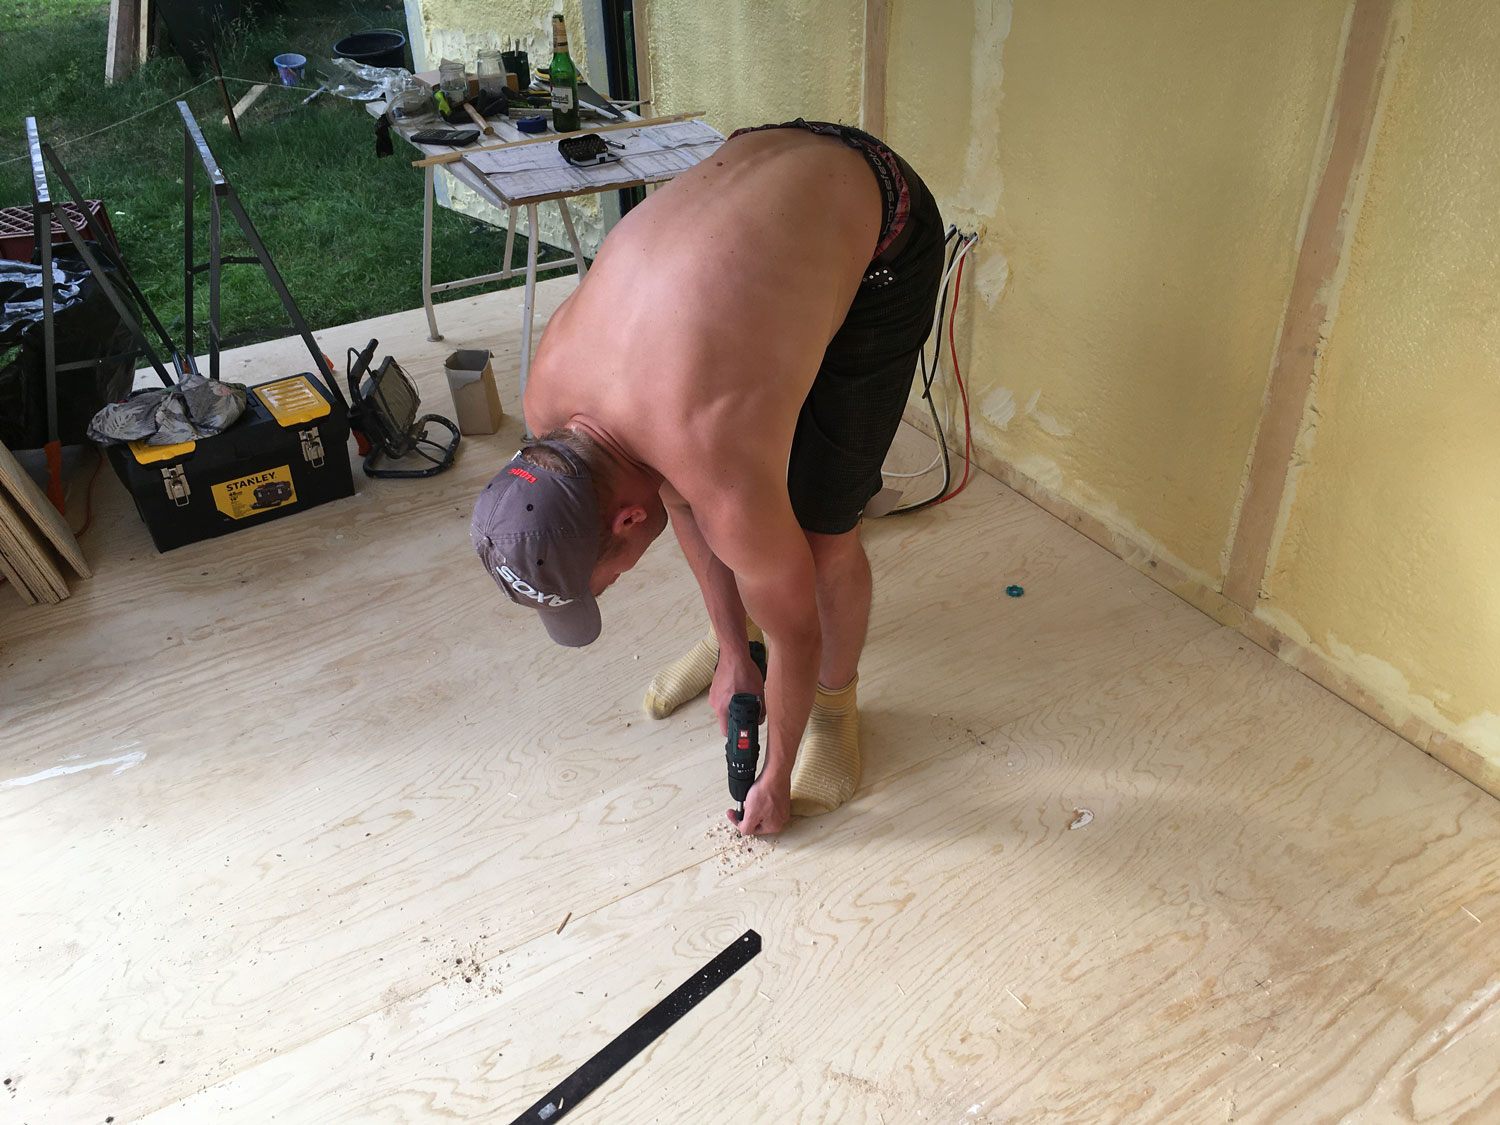
Plywood interior lining in shipping container. Resurfacing plywood
We used hemispherical head screws to secure the plywood boards in shipping container. The boards were sanded several times and painted several times. The knot holes were ground and smoothed. Before buying plywood boards, it is necessary to inspect the individual boards in the store and choose the ones you need. Otherwise, they will send you the worst pieces they have.


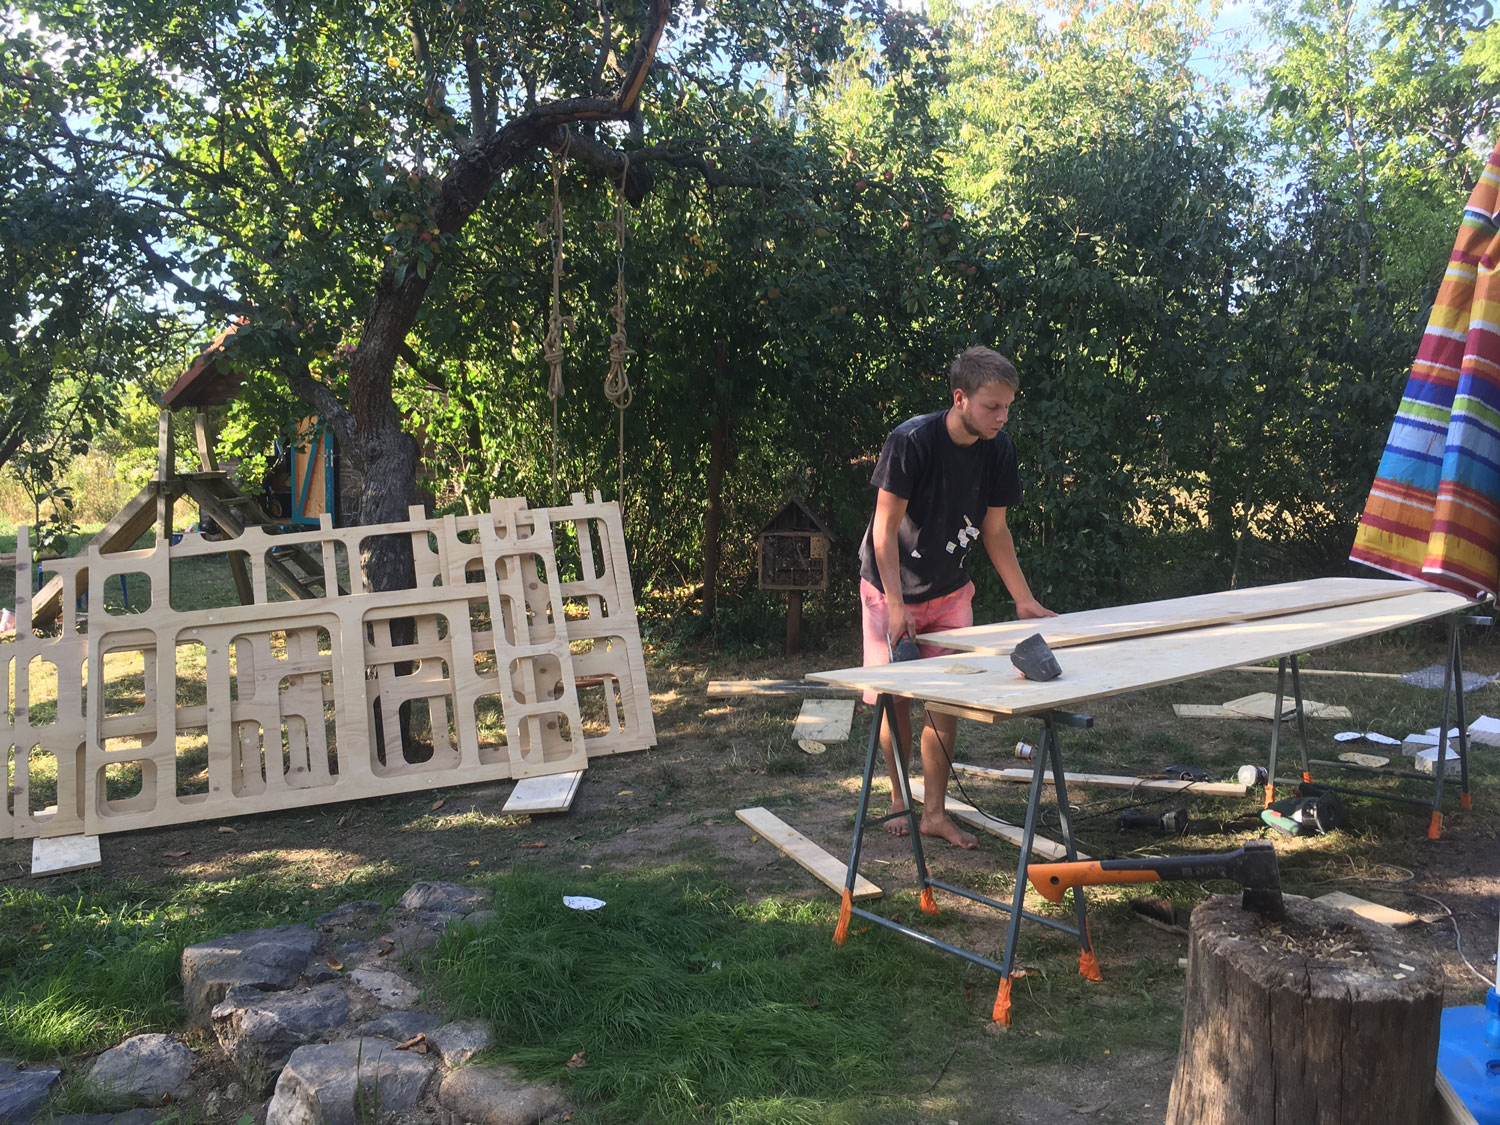
Installation of built-in shelves and cabinets in shipping container. Painting the door with an acrylic varnish. Assembly of the folding bed.
The most demanding part of the building was the built-in furniture. Cabinets, shelves, folding bed, and folding table. The surface is sanded and painted several times to achieve the smoothest possible surface. The edges must be sanded with a router trim or other specialized tool. The supporting body of the furniture and the door are made of ¾” plywood, while the front plate with round holes is made of ½” plywood.


Installing solar panels and wind generator controls. Installation of smart technologies, socket, switches, turbine.


Chimney assembly and installing bathroom fixtures in shipping container
All flammable materials around the stove must be at a sufficient distance. I removed the sprayed insulation around the chimney and replaced it with mineral wool. I covered the area with painted black sheet metal.


DIY Small Off-Grid 20 ft Shipping Container Home